Managing Use Groups for your Company
Note: Only Global Admins have the ability to manage Use Groups within Ediphi.
Use Groups categorize different aspects of your estimate based on their intended use (sometimes called asset classes) such as Above or Below Grade Parking, Retail, Condominiums, or Hotels.
With Ediphi, you can leverage Use Groups and access each use group’s associated historical cost data within a single cloud-based platform. That means no more side sheets! This not only expedites the estimating process, but also facilitates effortless cost comparisons between like-for-like uses, even when project details differ (ex. hotel above casino vs. hotel above parking). This also makes it that much easier for you to present clients with costs based on use, particularly helpful if your clients are funding the project by use.
Suppose you want to conduct a cost comparison between building a hotel above a casino versus a hotel above a parking garage. Building a hotel casino is much more expensive than a hotel above a parking garage, but how much more? How do you determine the cost of building just the hotel portion of your project? Better yet, how can you take your past estimate of a hotel and use it to quickly provide clients pricing for a new project?
With Ediphi, you can leverage Use Groups from past estimates, such as a previously estimated hotel, to easily compare costs across different projects. And, because your data is in the cloud, your historical cost base grows over time, making it faster to provide clients with accurate pricing.
See below for steps on how to create and manage Use Groups within the Admin tab.
In this article
Creating Use Groups
- Hover over Admin on the top-right corner of the screen, and select Use Groups from the dropdown.
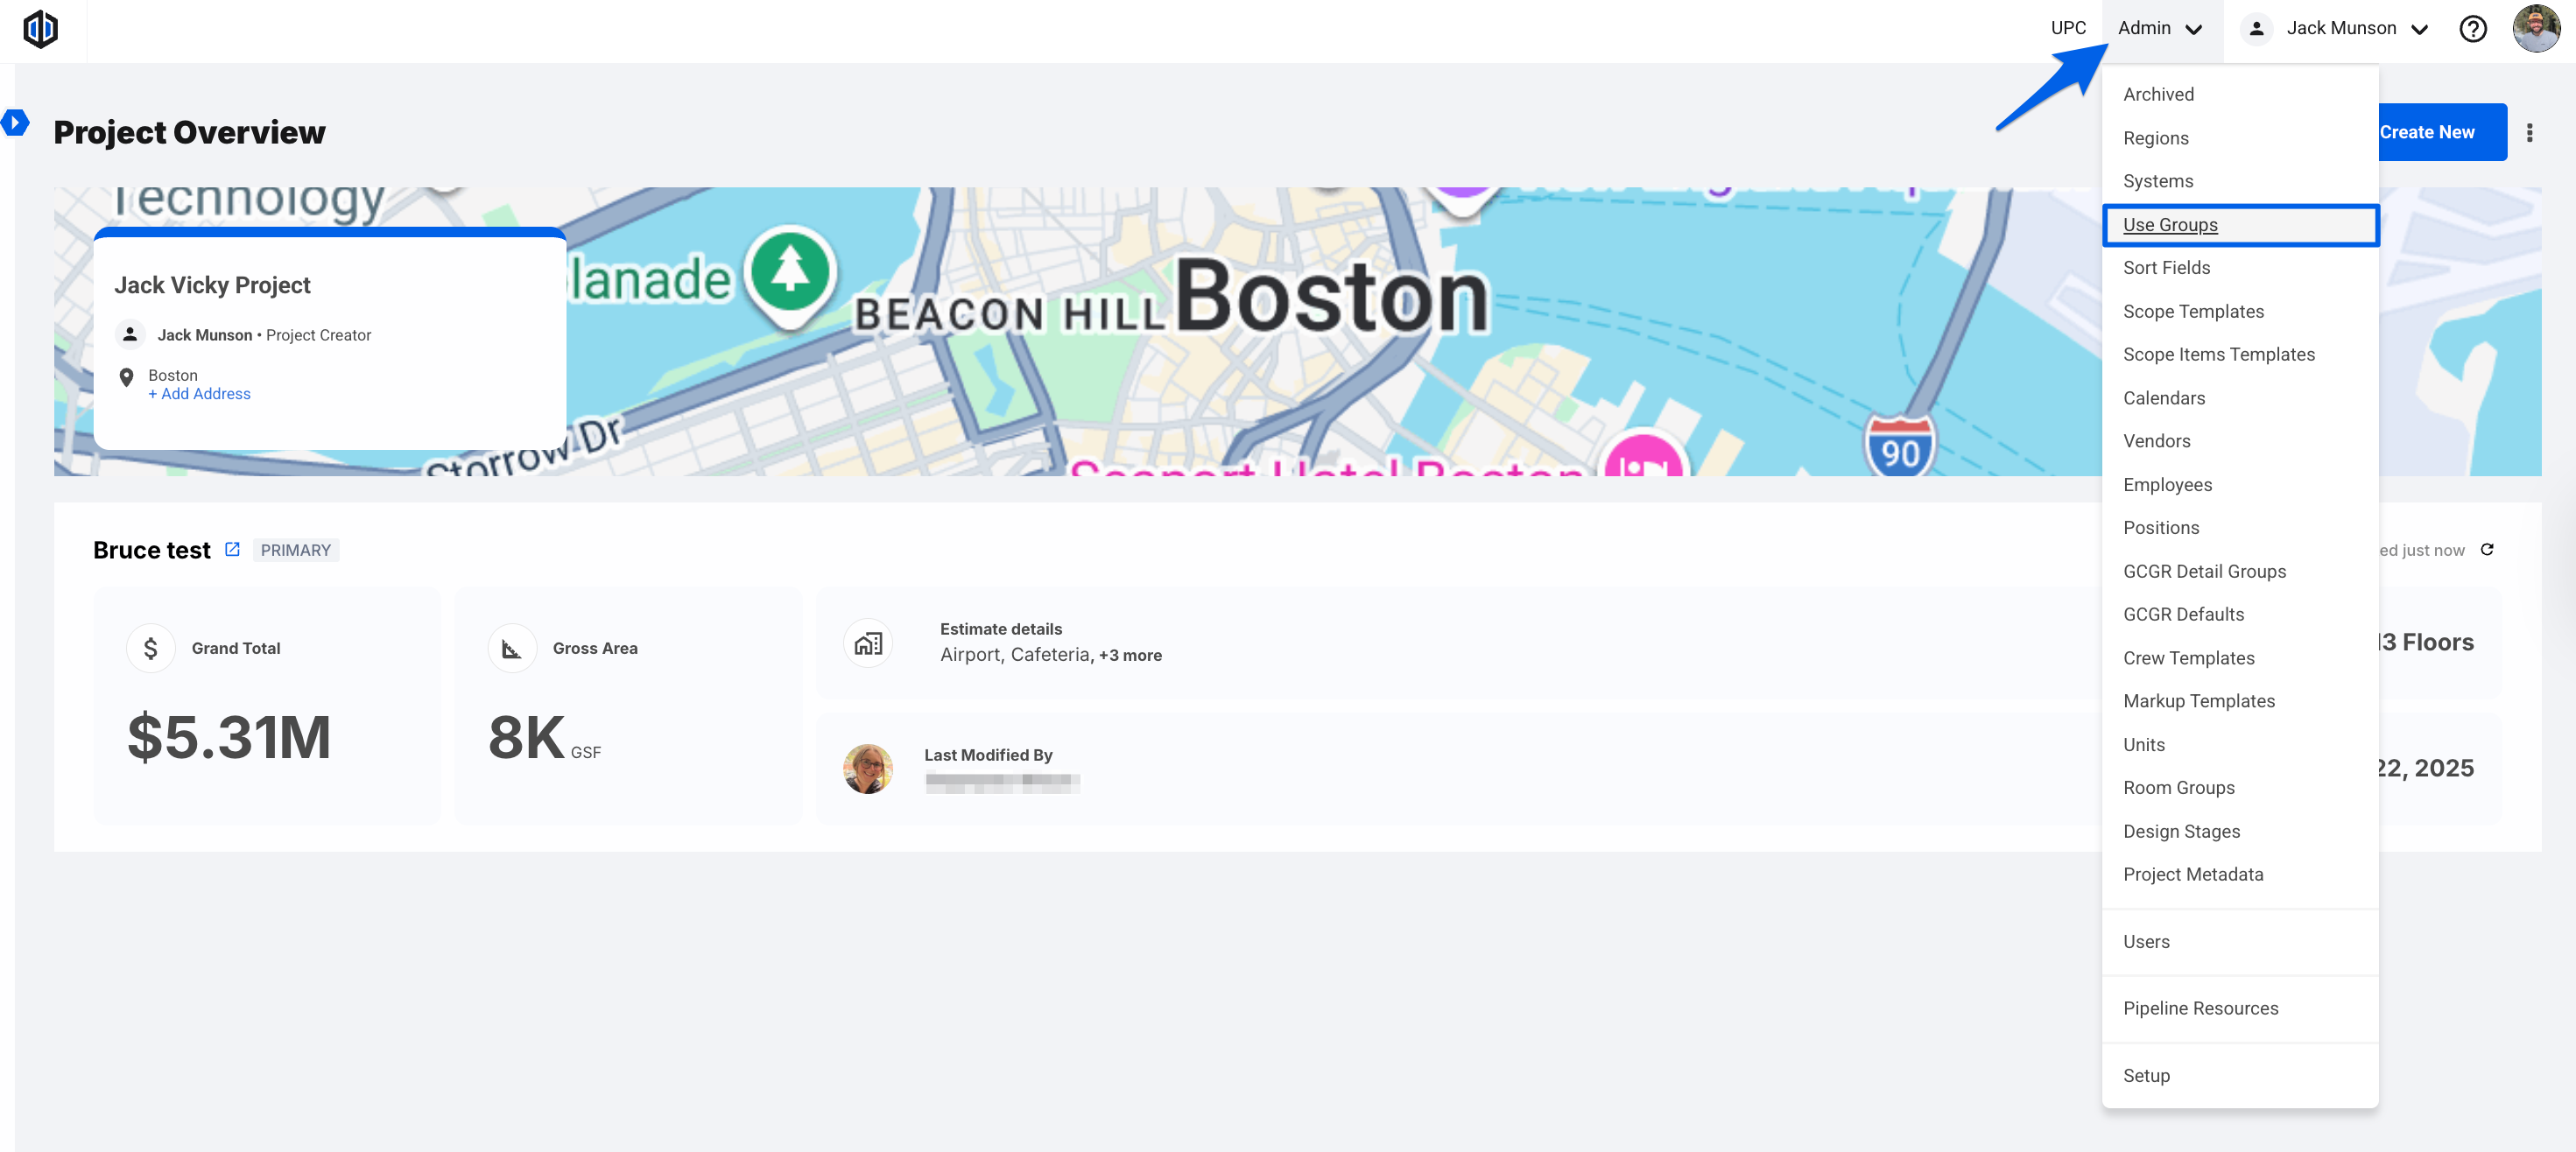
-
On the next page, select New Use Group.
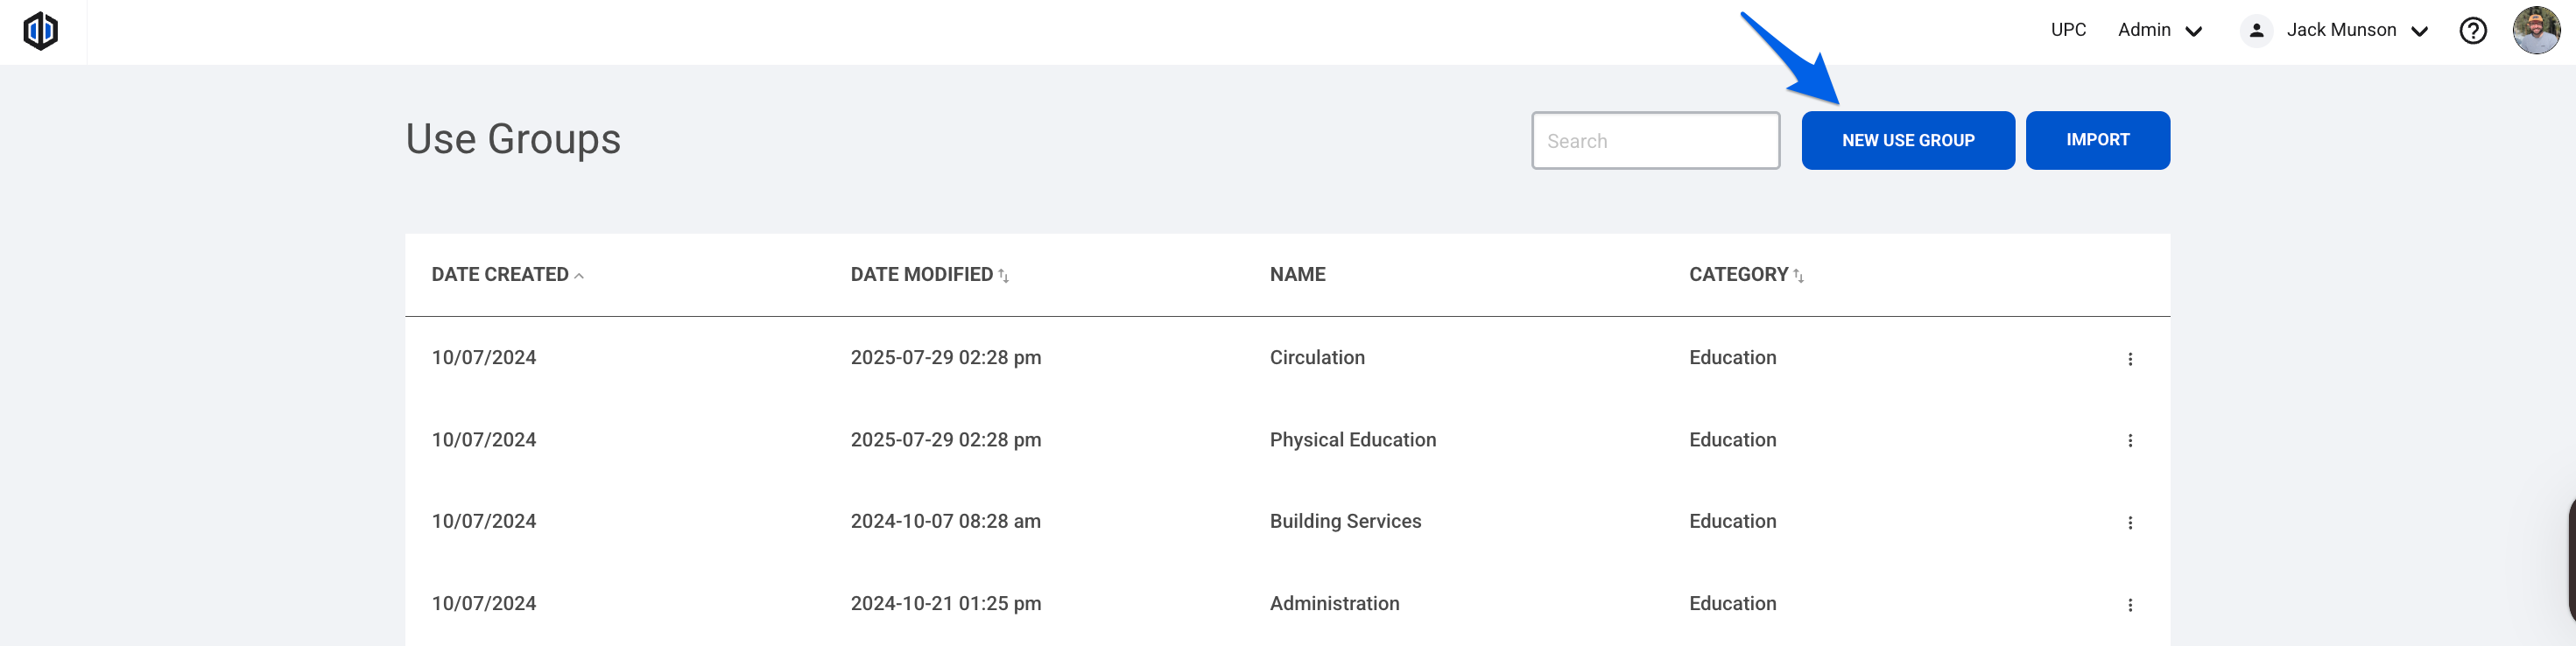
- Enter a Use Group Name, select a Category, and a Unit Label (optional).


Note: Adding a Unit Label will affect how that Use Group appears in the Units tab. For example, if for our Apartment Use Group we add an “Apartments” label,:

That will override how it shows in the Unit Totals bar:


- Users have the option to Manage Unit Specs at this step. Click on the Manage Unit Specs button to do so. These selected Unit Specs will then be reflected in the Units tab of your Estimate for that specific Use Group. Check out our article on Unit Specs for more detailed information on this topic.

- Once you’re done setting up your Use Group information and its respective Unit Specs, click Save.
Editing Use Groups
- Hover over Admin on the top-right corner of the screen, and select Use Groups from the dropdown.
- On the next page, click on the ellipses next to the Use Group you need edited, and select Edit.
- Make any changes you'd like, and click Save.

Deleting Use Groups
- Hover over Admin on the top-right corner of the screen, and select Use Groups from the dropdown.
- On the next page, click on the ellipses next to the Use Group you need deleted, and click Delete.

If you have any questions, feel free to contact our support team and we'll be happy to help!