Managing Use Groups in an Estimate
Use Groups categorize different aspects of your estimate based on their intended use (sometimes called asset classes) such as Above or Below Grade Parking, Retail, Condominiums, or Hotels.
With Ediphi, you can leverage Use Groups and access each use group’s associated historical cost data within a single cloud-based platform. That means no more side sheets! This not only expedites the estimating process, but also facilitates effortless cost comparisons between like-for-like uses, even when project details differ (ex. hotel above casino vs. hotel above parking). This also makes it that much easier for you to present clients with costs based on use; particularly helpful if your clients are funding the project by use.
Suppose you want to conduct a cost comparison between building a hotel above a casino versus a hotel above a parking garage. Building a hotel casino is much more expensive than a hotel above a parking garage, but how much more? How do you determine the cost of building just the hotel portion of your project? Better yet, how can you take your past estimate of a hotel and use it to quickly provide clients with pricing for a new project?
With Ediphi, you can leverage Use Groups from past estimates, such as a previously estimated hotel, to easily compare costs across different projects. And, because your data is in the cloud, your historical cost base grows over time, making it faster to provide clients with accurate pricing.
See below for steps on how to add and manage Use Groups within your Estimate.
In this article
Adding Use Groups
- Within your estimate, hover your cursor over the Use Groups tab, and then click on Add Use Groups.

- Select the desired Use Groups from the list of presets (these can be renamed later). Click Save.

Click here for a video on adding Use Groups
Note: If you added Buildings to your estimate, you can link your selected Use Groups to a specific Building at the bottom of the Add Use Groups modal. If you do not assign here, you can assign in the Manage Use Groups modal.
Editing Use Groups
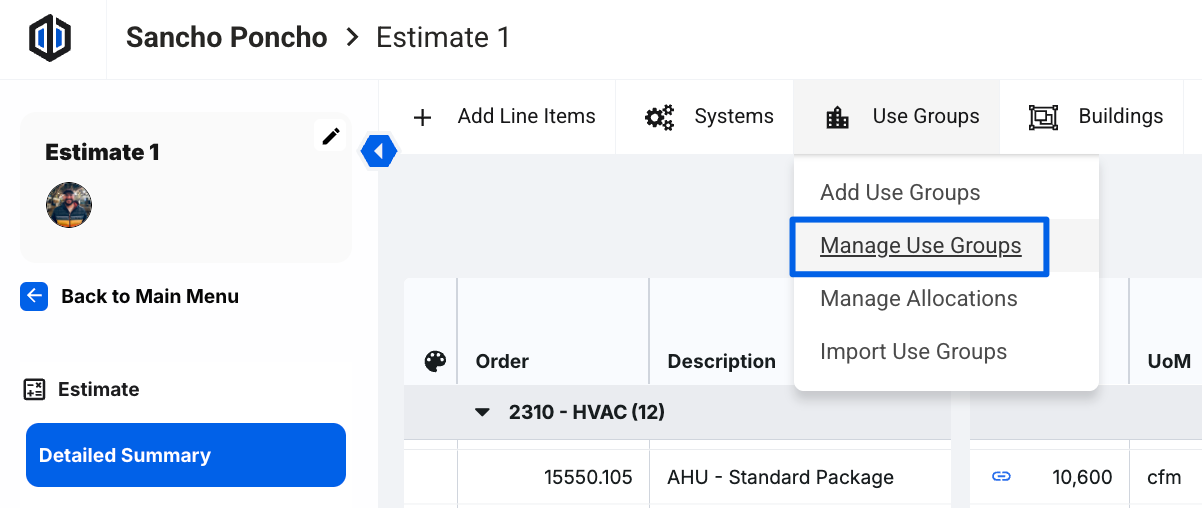
- Within your estimate, hover your cursor over the Use Groups tab, and then click on Manage Use Groups.
- Click the Label cell to add a custom name to a Use Group. You can also assign a Building (this column will not show if you do not have any Buildings on your estimate), select to Exclude Area, view GSF (Gross Square Feet), Unit Area, and Unit Count.

- Click Update.
Note: Use Groups can only have one Building association, though a Building can have many Use Groups assigned to it. This is to prevent confusion about how costs are distributed between Buildings. If a Use Group needs to appear in multiple Buildings, separate ones must be created (e.g., an Apartment Use Group labeled “Apartment East”, and another Apartment Use Group labeled “Apartment West”.
Deleting Use Groups
- Within your estimate, hover your cursor over the Use Groups tab, and then click on Manage Use Groups.
-

Click on the trash can icon on the Use Group you would like to remove.

- The platform will ask you to confirm you want to delete the Use Group. Click Confirm Delete.

Note: All line items within this Use Group will be removed, and this action cannot be undone.
Create and Manage Allocations
Allocating Use Groups to Line Items helps users determine how much of each Use Group should be assigned to a line item. Using Allocations allow for these allocations to happen automatically. For more information on this topic, see Use Group Allocation in Estimates.
- Within your estimate, hover your cursor over the Use Groups tab, and then click on Manage Allocations.

- Click New Allocation.

- You will be required to give the Allocation a Name. Then, click Save.

- Once the Allocation is created, you will have the option to enter the allocation percentages. The percentages need to sum up to 100% in order to get a checkmark in the Allocation:


- Once you have added all percentages, click Save.

If you have any questions, feel free to contact our support team, and we'll be happy to help!