Importing Estimates into Ediphi
In this article, we'll walk you through the steps needed to successfully import an Estimate and delete imported line items, as well as go through common errors and their resolutions
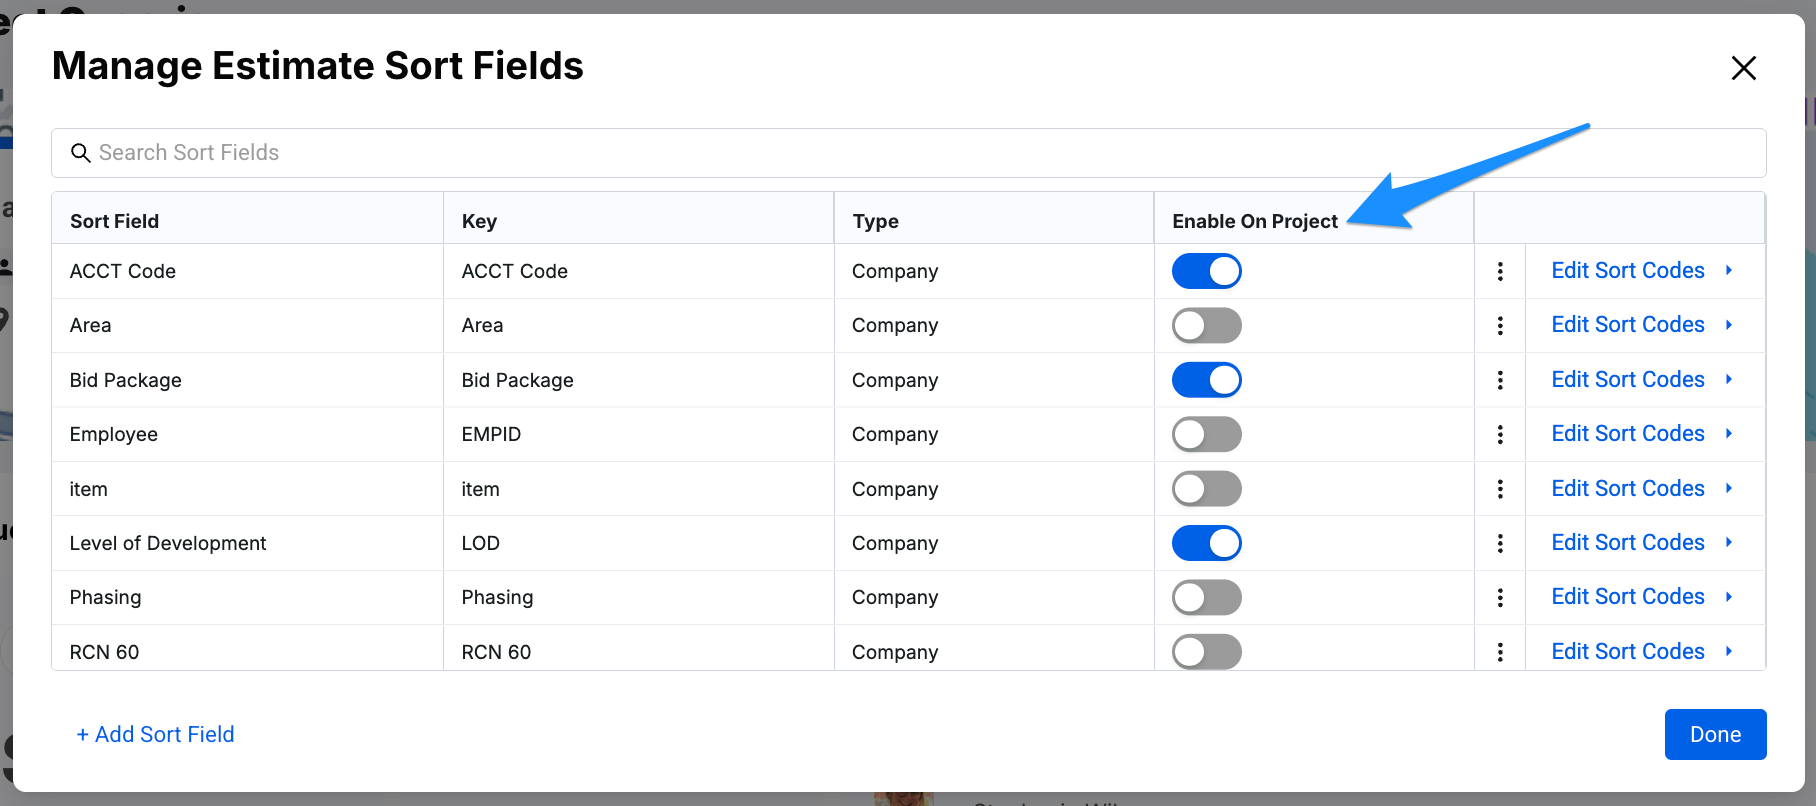
Note: If the estimate you are importing has custom Sort Fields, you will need to create these Sort Fields and Sort Codes in your project prior to importing the estimate.
In this Article
Importing An Estimate
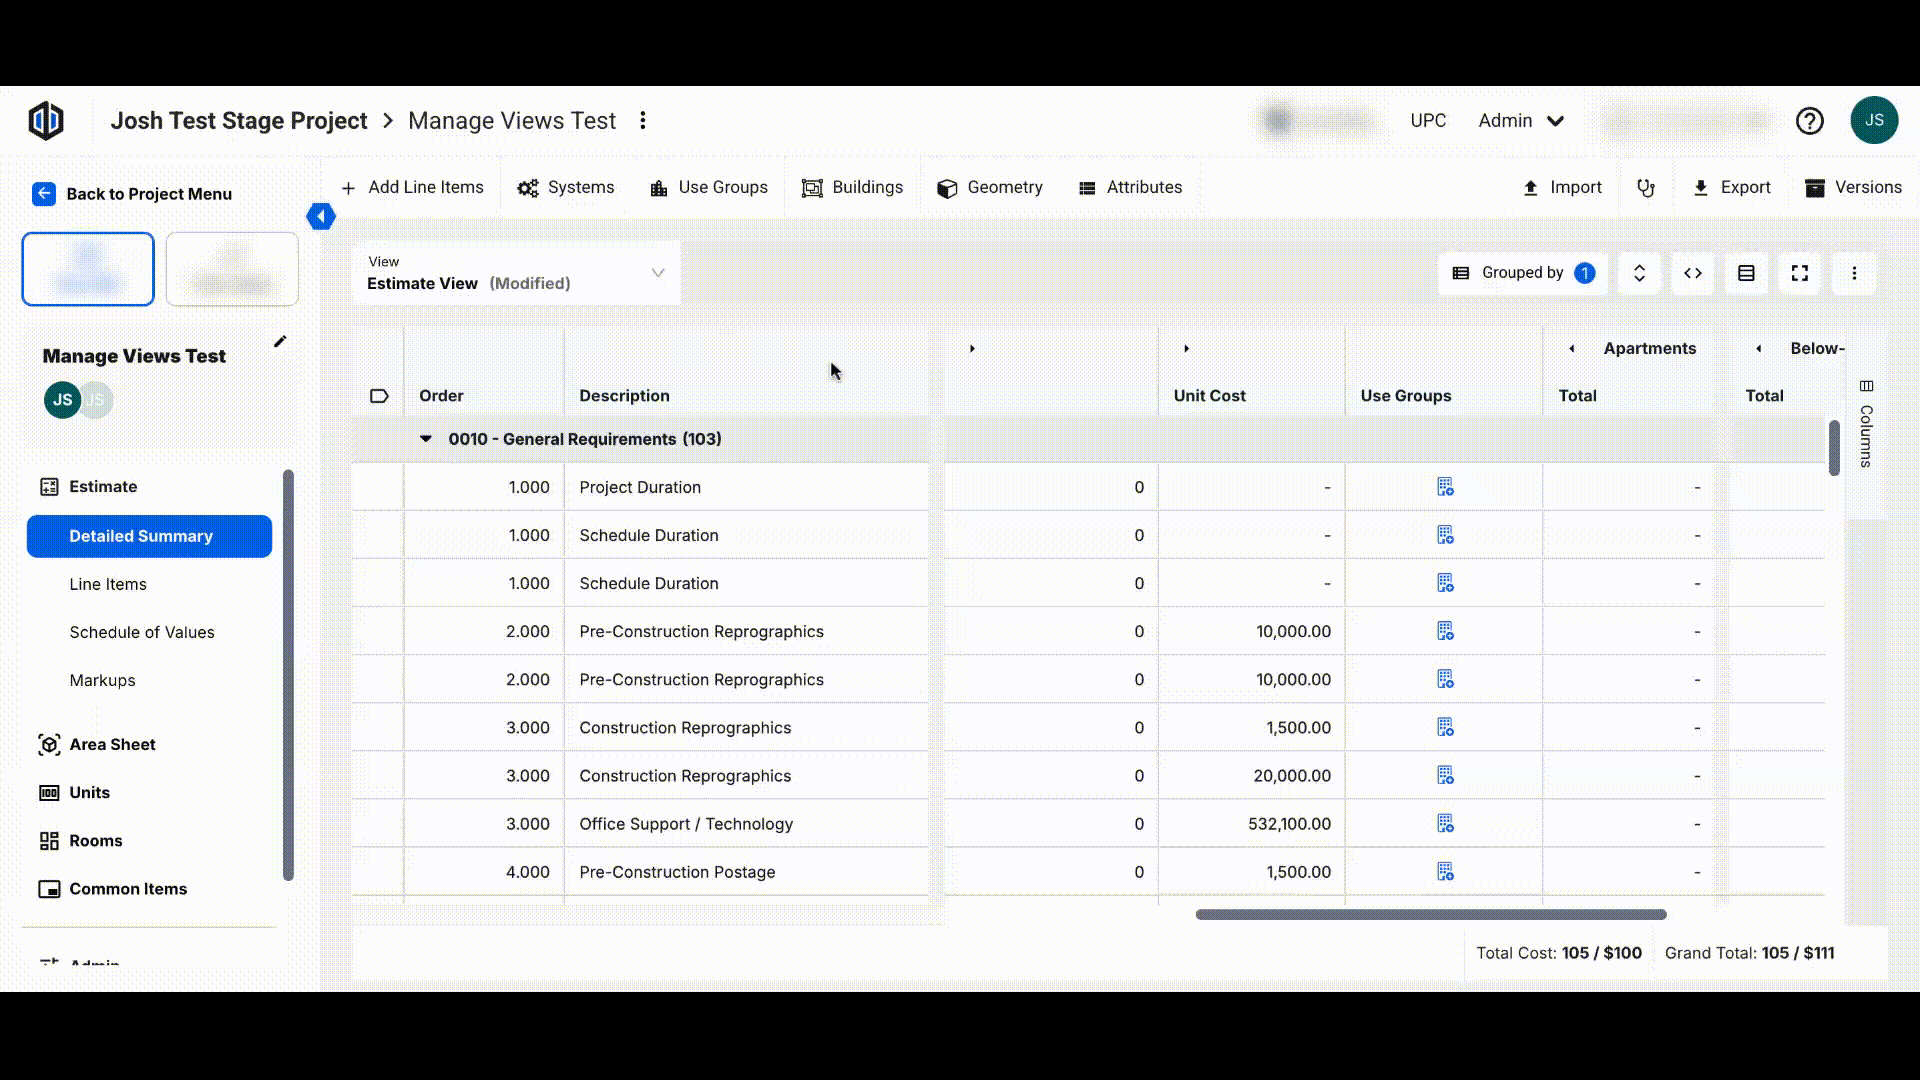
Instead of choosing +Add Line Items within an Estimate, users have the ability to import their line items instead.
- First, create a Project and/or an Estimate within an already created project.
- Once your Project and Estimate are created, we recommend filling out your Area Sheet and setting the Use Groups that will apply to the estimate.
- Go into your estimate, click the Import button, then select the CSV option.

- Click Download Sample CSV File.

- Condition your import file to match the Sample File layout and save it as a CSV.
- Excel & Timberline users: flatten their exports (put all data points in separate columns) and match column header names.
- Destini & WinEst users: match column header names to the sample import file. Column headers can be in any order, and only need to include any columns you wish.
- We recommend that users create, on separate worksheets, distinct lists of Sort Fields that they would like to carry over in the import. These lists will be used to create Sort Field imports in the next step.
Pro Tip: When assigning Sort Fields and Sort Codes to your line items via a CSV file, something to keep in mind is that the CSV column header must match the Key of the Sort Field, not its Name. The Key is assigned when creating a Sort Field, and can be found at the Admin level when editing. In the example shown below, the column header would be “LOD” rather than “Level of Development”. (Also note that these need to match exactly to what's set within the platform; inputting it as "Lod" or "lod" within the import file would cause an error).

- Go back into the Estimate, click the Import button, then select CSV.
- Drag and drop or click to select your CSV for upload.

- Go back into your Estimate to view your newly added line items.
Pro Tip: You have the ability to allocate Use Groups to your line items, straight from your import file! Be sure to first add Use Groups to your Estimate, and assign Labels to them once created, before performing the following steps:
- Within the CSV you are going to import, create a new column that will represent your Use Group.
- Use the following pattern to name the header of the column: "(Label Name)_alloc".
- For example, if the Use Group Label in the estimate is named "Use Group A", you will enter into the header "Use Group A_alloc" (see example below).
- Please note that this is case sensitive and must match your label exactly. Even extra spaces that may exist in your labels will need to be included in your CSV, or the import may fail.
- Below the header, enter a number in each cell next to the corresponding Line Item to indicate the percentage allocated to it. The default should be 100 if that line item will only be part of one Use Group.
- Repeat this process for as many Use Groups as you wish.
- Save and import your CSV into your estimate.

Deleting Imported Line Items
Users have the ability to filter out their line items by import batches. This will come in handy should you want to delete line items related to a particular import.
- Select the Line Items view.
- Click on the Filter tab on the right hand side.
- Choose "Import Batch" from the Filter window and select the desired import batch from the dropdown.
- Once filtered, hold Ctrl + A on your keyboard to select all the line items in that batch.
- Right-click and select Delete.
Common Errors & Resolutions
- All relevant Sort Fields need to be enabled (selected) within the Project prior to importing.
- Sort Fields that are toggled on under the Enable On Project column are enabled in your project. Ensure all applicable Sort Fields are enabled, then click Save.
- A Sort Field/Sort Code does not exist in the Project.
- Ensure all Sort Fields listed in your workbook column headers exist within your project. If using Sort Codes, be sure those exist within those Sort Fields in your project as well.
- Double-check your list and ensure every Sort Code listed in your estimate has been identified and exists within the list of available codes for that Sort Field.
- Order values contain non-numeric values.
- The Order column should only contain numbers. For example, if your item number is based off UniFormat, you may have an item number "A1010.1234 Spread Footings". You could remove the "A" from the Order number and re-import.
If you have any questions, feel free to contact our support team, and we'll be happy to help!