Managing Regions for your Company
Note: Only Global Admins have the ability to manage Regions within Ediphi.
A Region, such as Boston or San Francisco, is both a project attribute and a mechanism for applying geographic cost variations to UPC items. In some cases, multiple regions exist within the same location but with different pricing structures. For example, in New York City, residential projects can use open shop labor, whereas other asset classes require union labor, resulting in cost differences within the same city.
Within Ediphi, Regions serve as geographical groupings for projects, ensuring that costs are accurately aligned with regional pricing variations. For detailed instructions on how to set pricing per Region, see Creating a Product in the UPC. Once a Region is set, the cost of items added to your project will automatically update based on that Region, eliminating the need for manual adjustments and ensuring cost accuracy.
In this article
How to Add a New Region
To add a new Region to your company's region list either manually or through an import, follow the steps below.
Manually
- Hover over Admin in the top-right corner of the screen and select Regions.
- Click on the New Region button.
- Enter your new region information.
- Click Save.

Import
- Hover over Admin in the top-right corner of the screen and select Regions.
- Click on the Import button.
- Click on the gray area to select your CSV, or drag and drop your CSV into the gray area.
Pro Tip: Download the Sample CSV that appears in the Import modal to ensure you are using the correct format.

Once you have completed the above steps, your new Regions will appear within the Regions drop-down list when editing/creating a project, as well as the UPC when assigning Cost to Products.
How to Edit a Region
If you need to make changes to a Region that already exists within your Regions list, follow these steps:
- Hover over Admin in the top-right corner of the screen and select Regions.
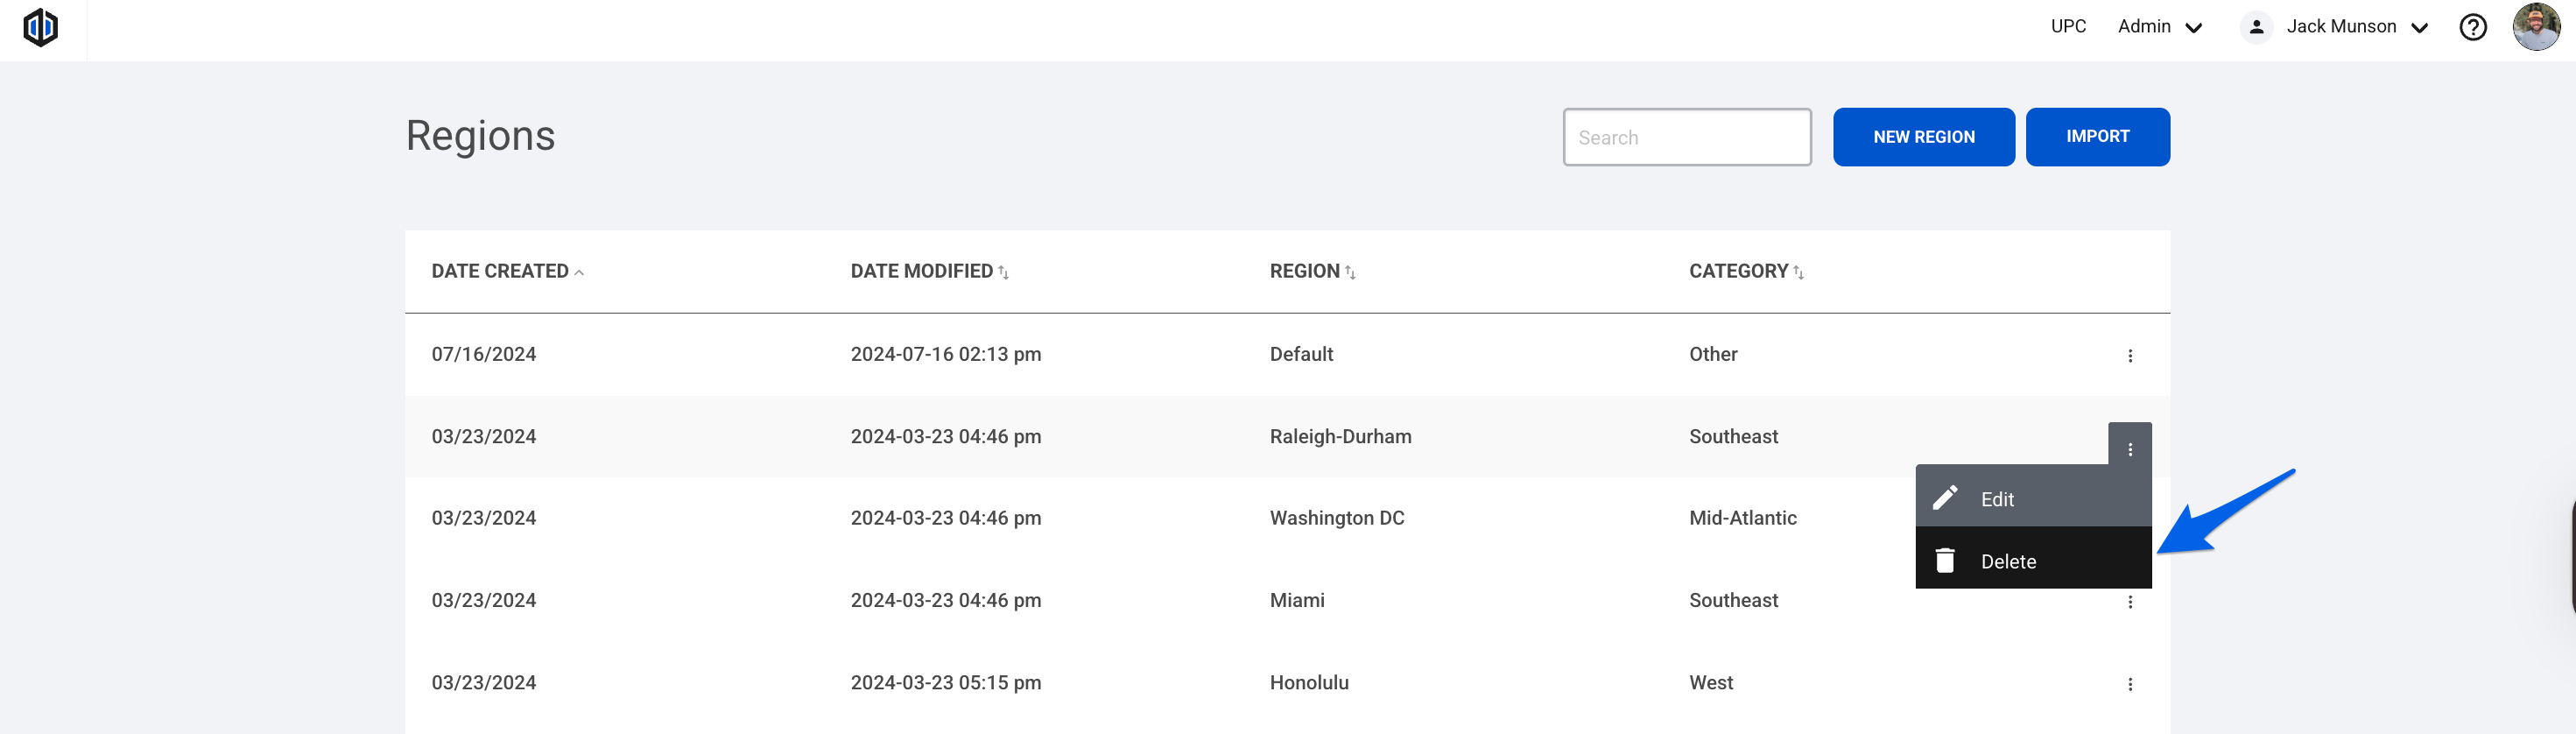
- Click on the 3 dots (ellipsis) next to the Region you wish to edit.
- Select Edit.
- Make any necessary changes, then click Save.

How to Delete a Region
If you need to delete a Region that exists in your Regions list, follow the steps below.
- Hover over Admin in the top-right corner of the screen and select Regions.
- Click on the 3 dots (ellipsis) next to the Region you wish to delete.
- Click Delete.
Note: Please be aware that there is no confirmation message to confirm the deletion of your Region. Clicking Delete will delete your Region permanently.
If you have any questions, feel free to contact our support team and we'll be happy to help!