Basic Systems Setup
Note: Only Global Admins have the ability to create, update, and delete Systems in Ediphi.
In Ediphi, Systems are estimate templates made up of line items that span multiple scopes of work, not just one specific trade. Think of a System as a reusable set of UPC line items that can be applied across any project. This article covers the basics of setting up a System, with a focus specifically on line items.
If you would like to build more detailed Systems, please see our Advanced Systems Setup article.
For information on how to use Systems in your estimate, please review our Understanding and Managing Systems article.
In this article
How to Create a Basic System
- Start by creating a new project that will act as your System library. We recommend naming it something like "Systems Templates" for easy reference.
-
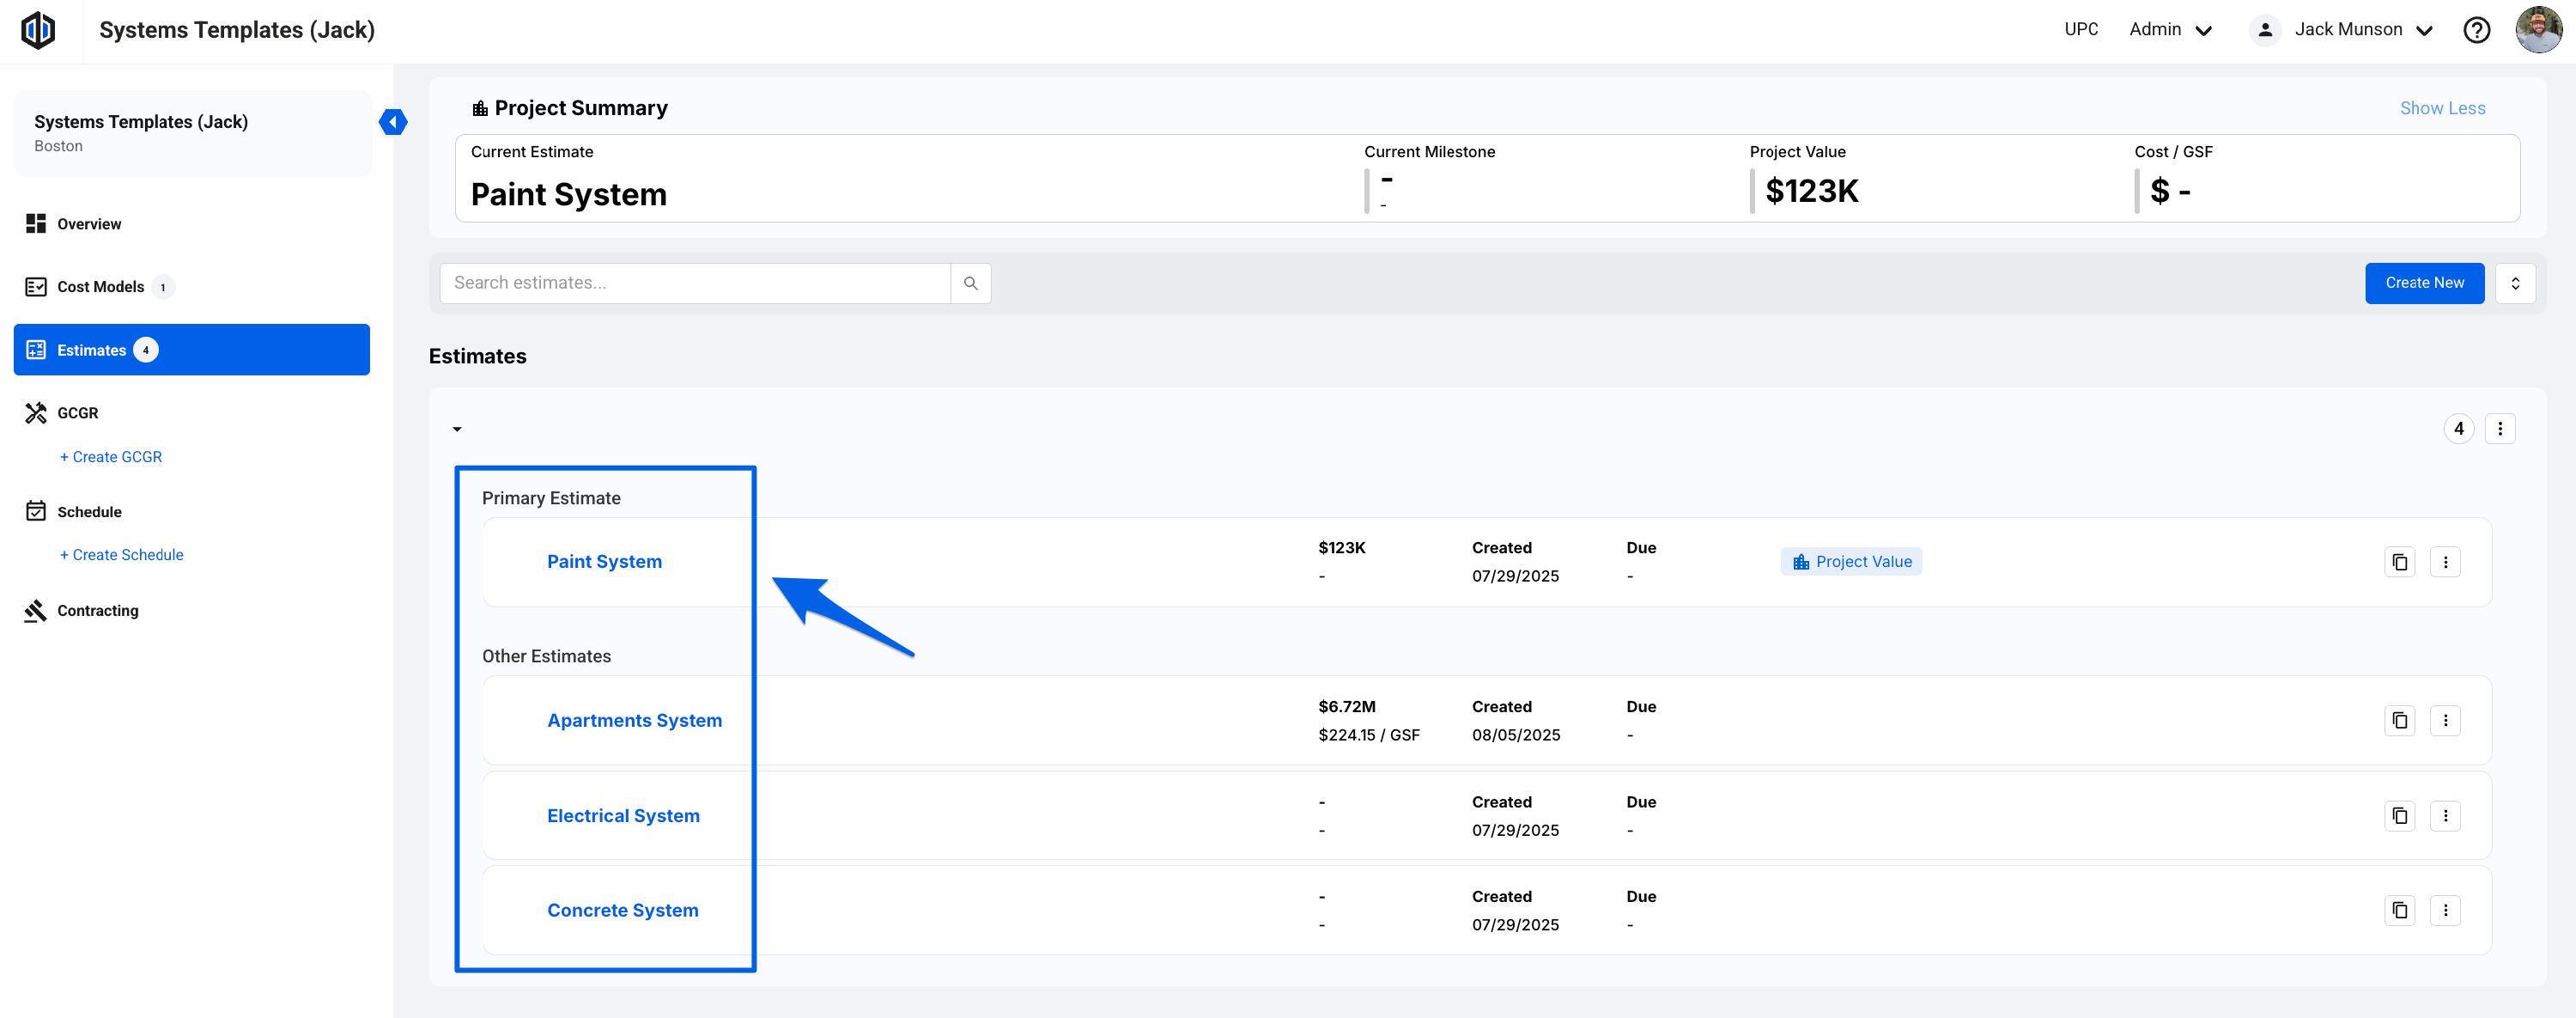
With your project created, you now have a dedicated home for all Systems templates. Create an estimate for each System template you want to build. For example, in the Paint System estimate, you would add all paint-related line items from the UPC to this estimate.


Pro Tip: When you add a System to a new estimate, the Unit Cost will pull from the UPC, not from the original System estimate.
- After adding line items from the UPC, do not assign a Use Group to them at this stage. This is because certain System configurations may cause line items with Use Groups to be excluded when the System is added to a new estimate. For more details on how Use Groups work with Systems, see our Linking Use Groups section in the Advanced Systems Setup article.
-
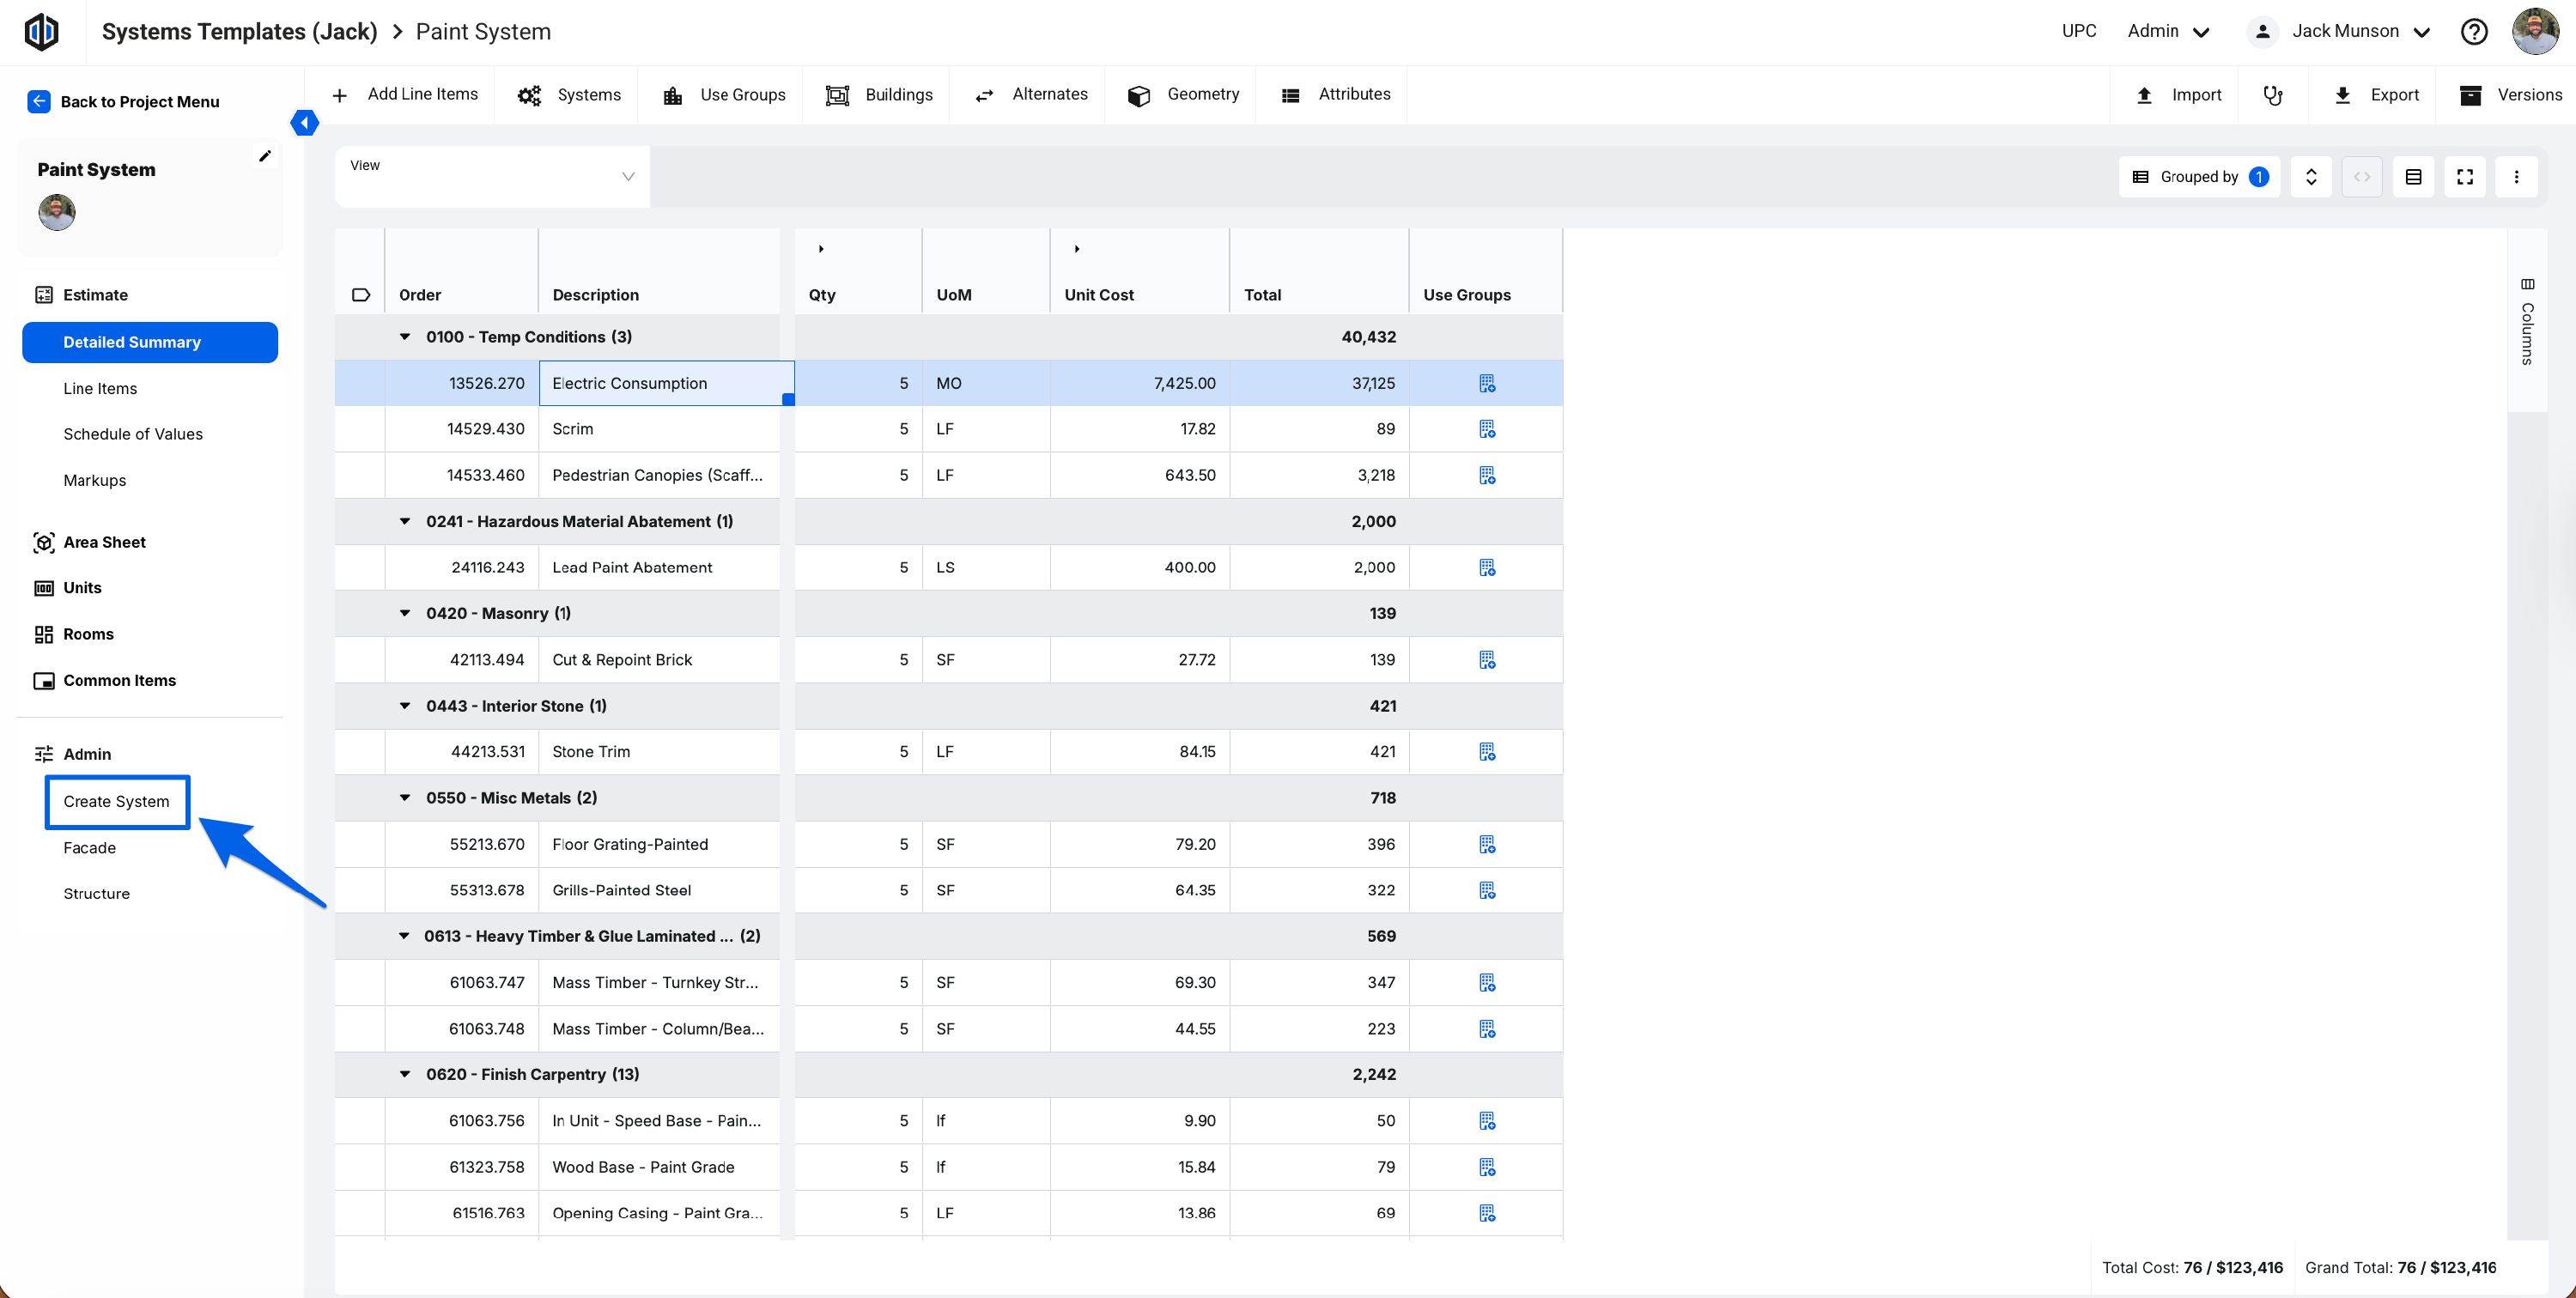
As an Admin, navigate to the bottom-left of the estimate and click Create System.
-
Once you are on the Systems page, you can ignore all other options and simply click Create System. From there, enter the System Name, select a Category, and choose "NONE" as the Type.


Note: System Categories are default and not customizable.
- Click Save to create the System.
To locate created Systems, navigate to any estimate in any project, and click on Systems on the top menu bar, then select Manage Systems. All created Systems will be listed here.

Note: At this time, Markups do not carry over into Systems, so we recommend utilizing Markup Templates.
How to Update an Existing System
- Navigate to your Systems project, then open the estimate for the System you’d like to work with.
-
In the Detailed Summary or Line Items view, add new line items from the UPC, or modify any existing line item data.
-
After making your edits to the estimate, click on Create Systems in the bottom-left corner.
-
Once the Systems page loads, focus only on the System dropdown and the Update System button. From the dropdown, select the System you just updated in the estimate, then click Update System. The existing system will then be updated with the new edits for future use.


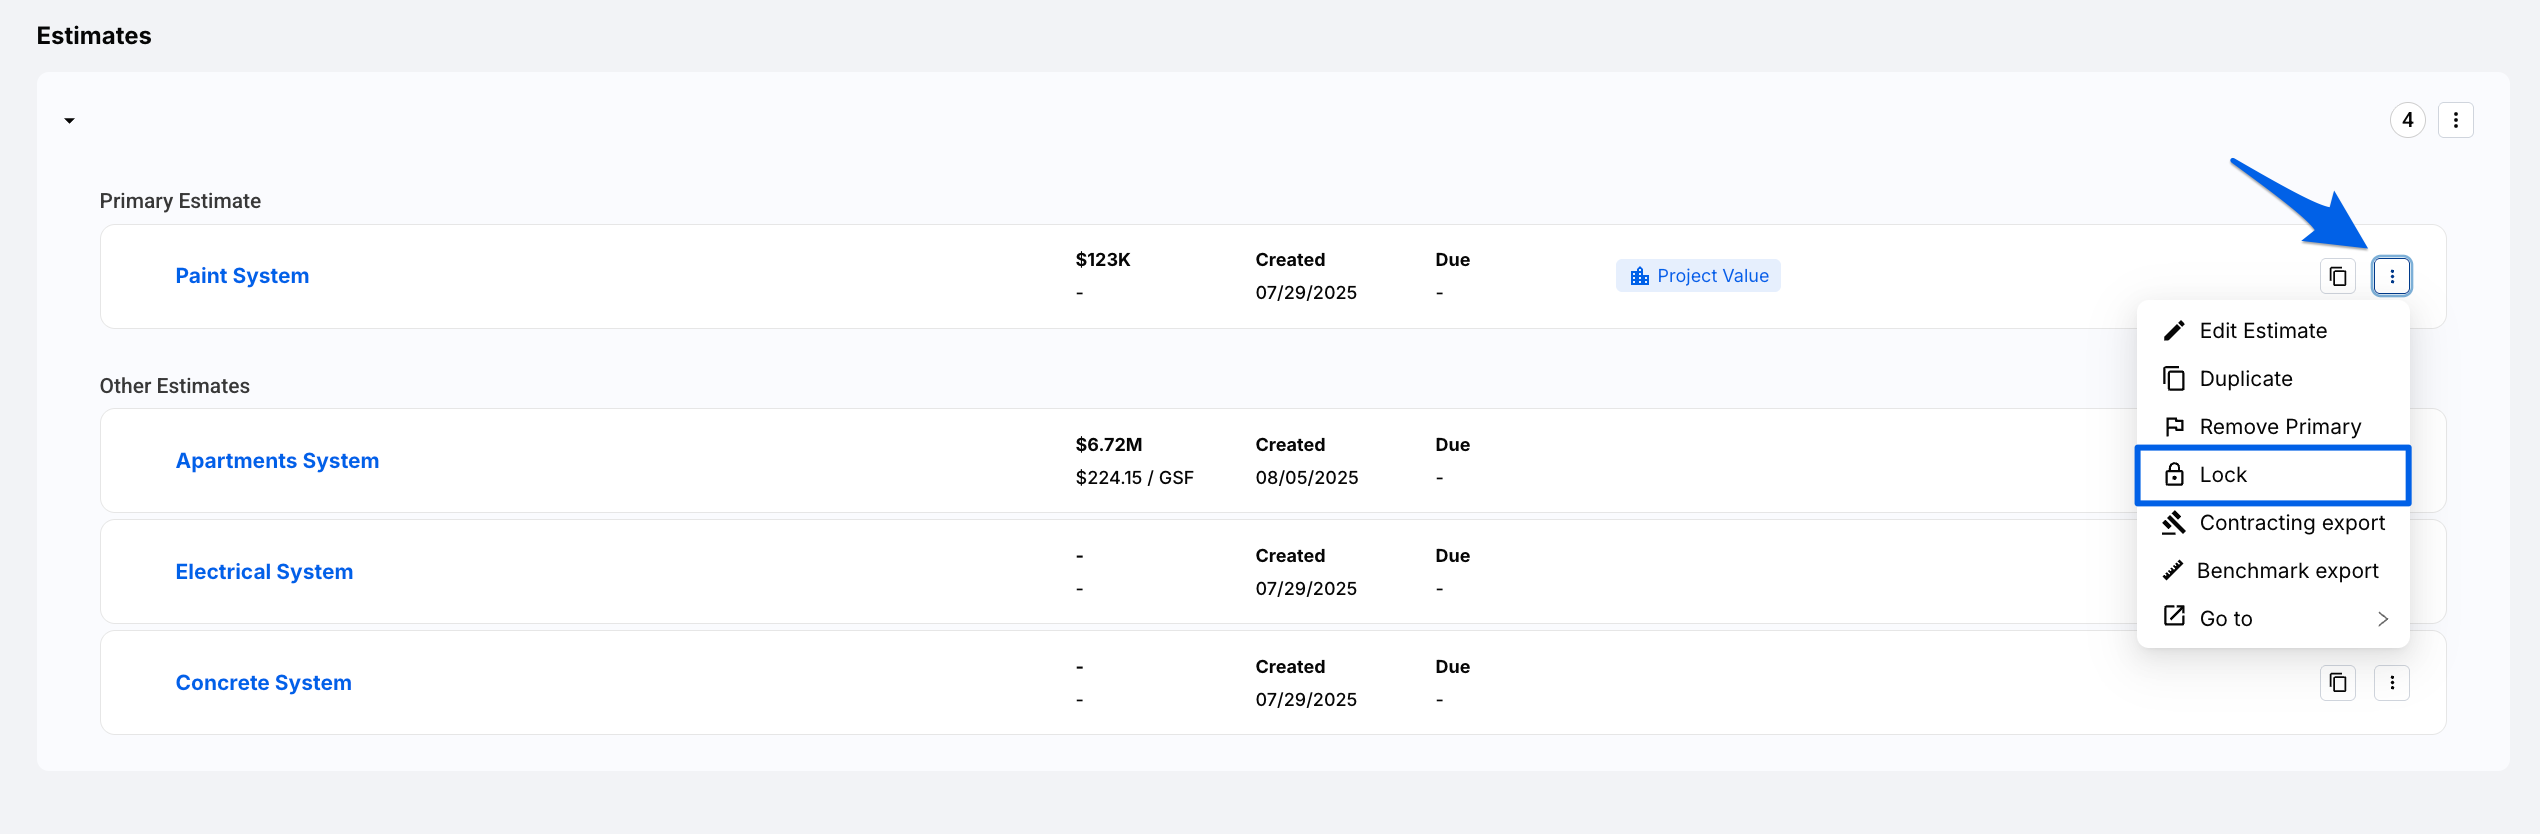
Pro Tip: We recommend locking your System Template estimates once complete.
How to Delete a System
-
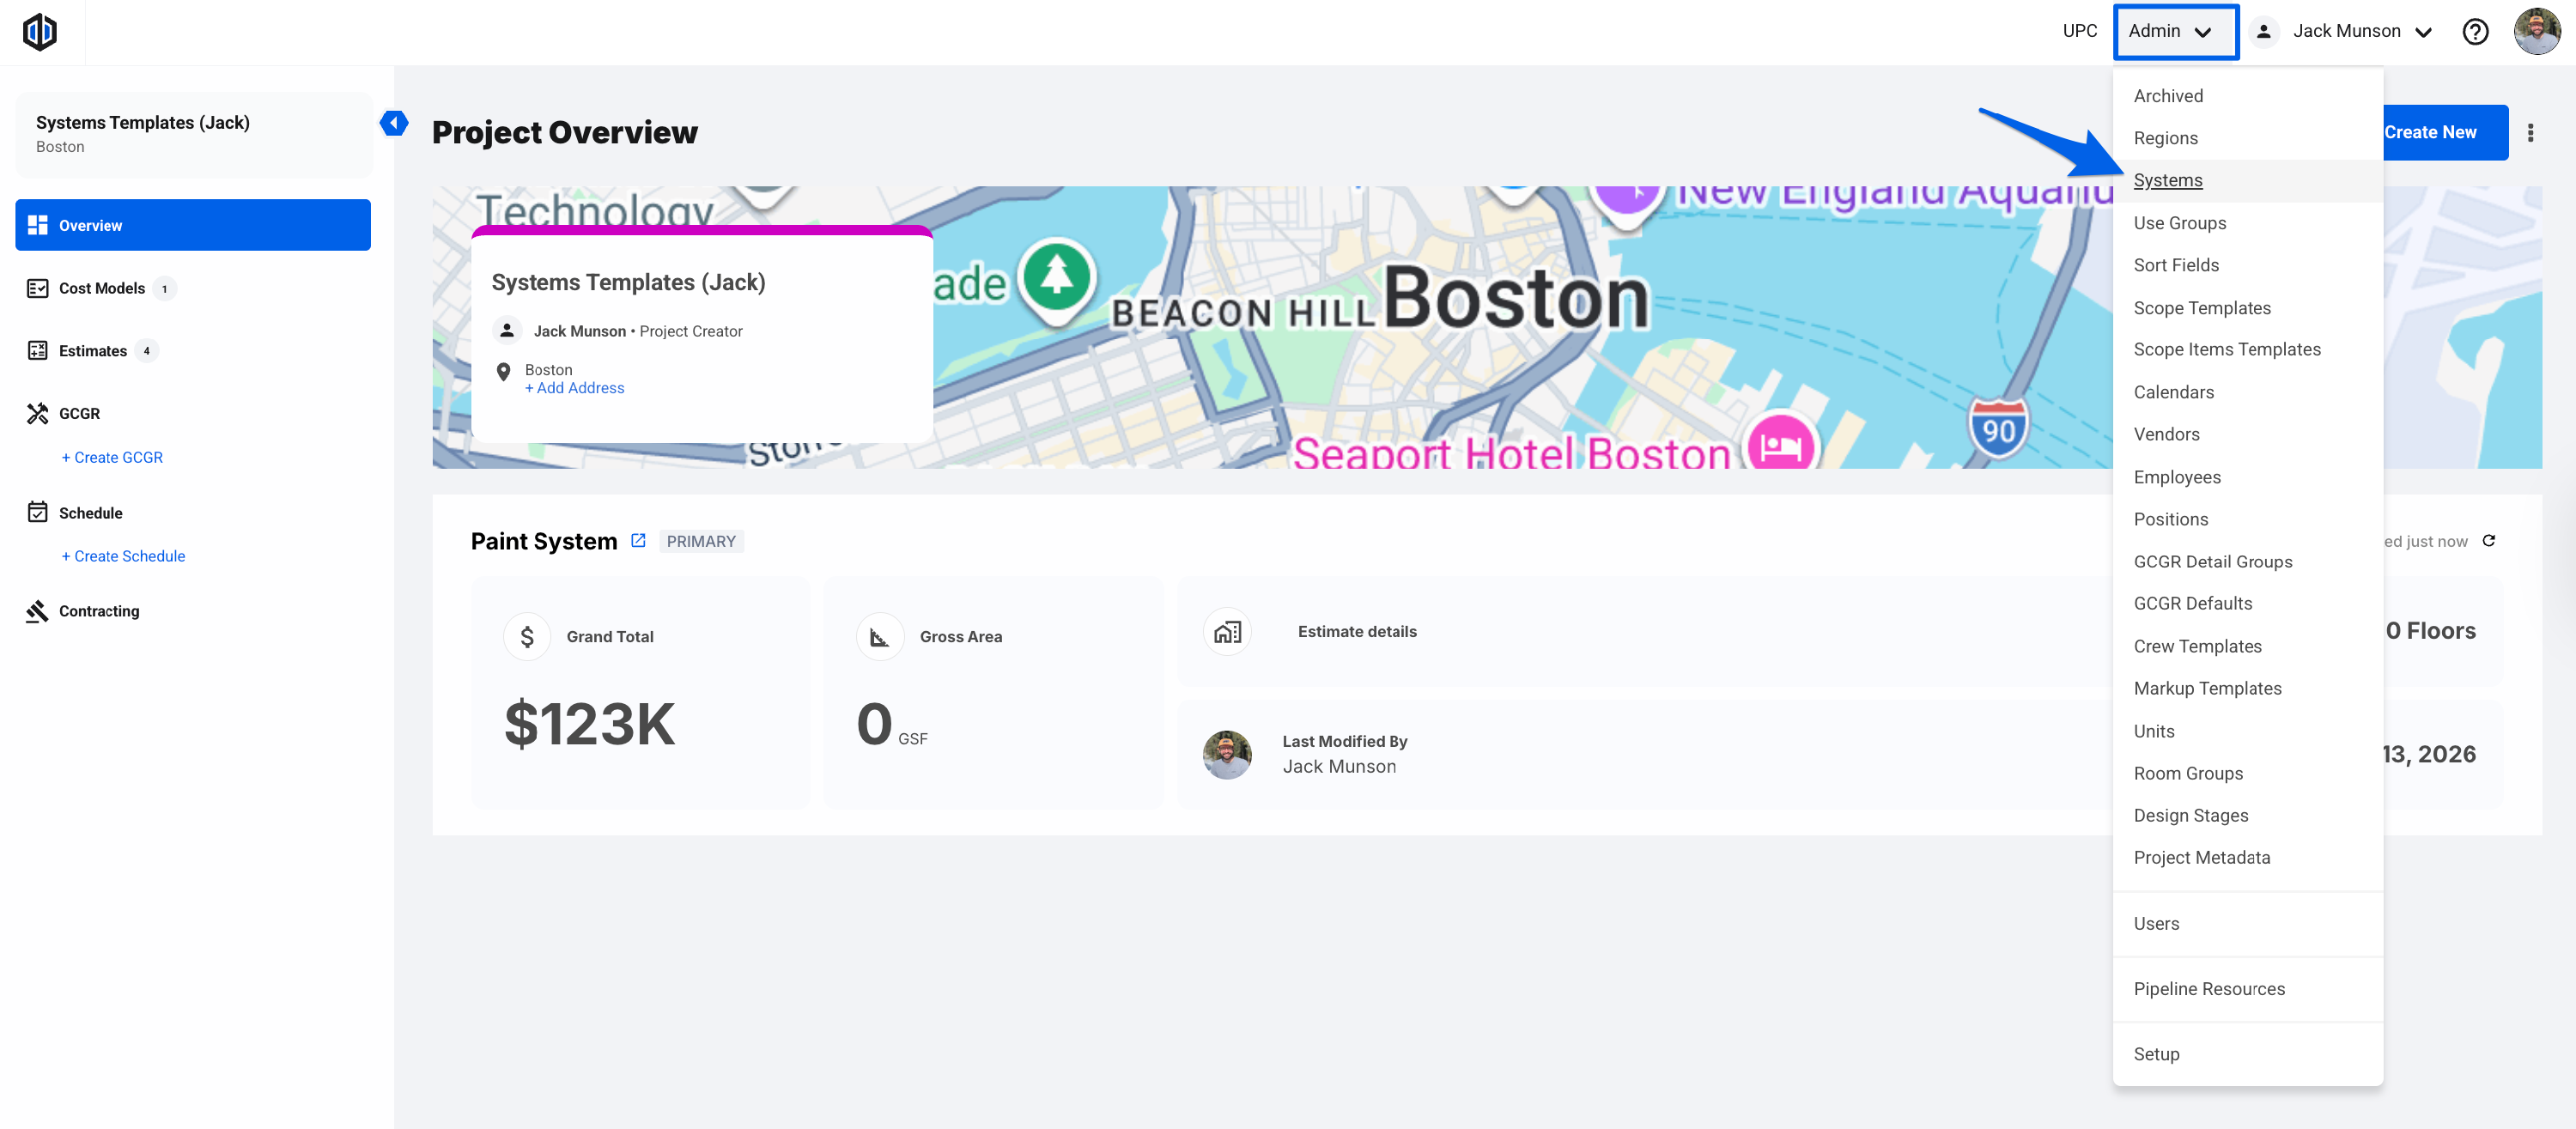
Select Systems from the Admin dropdown located on the top-right corner of the page.
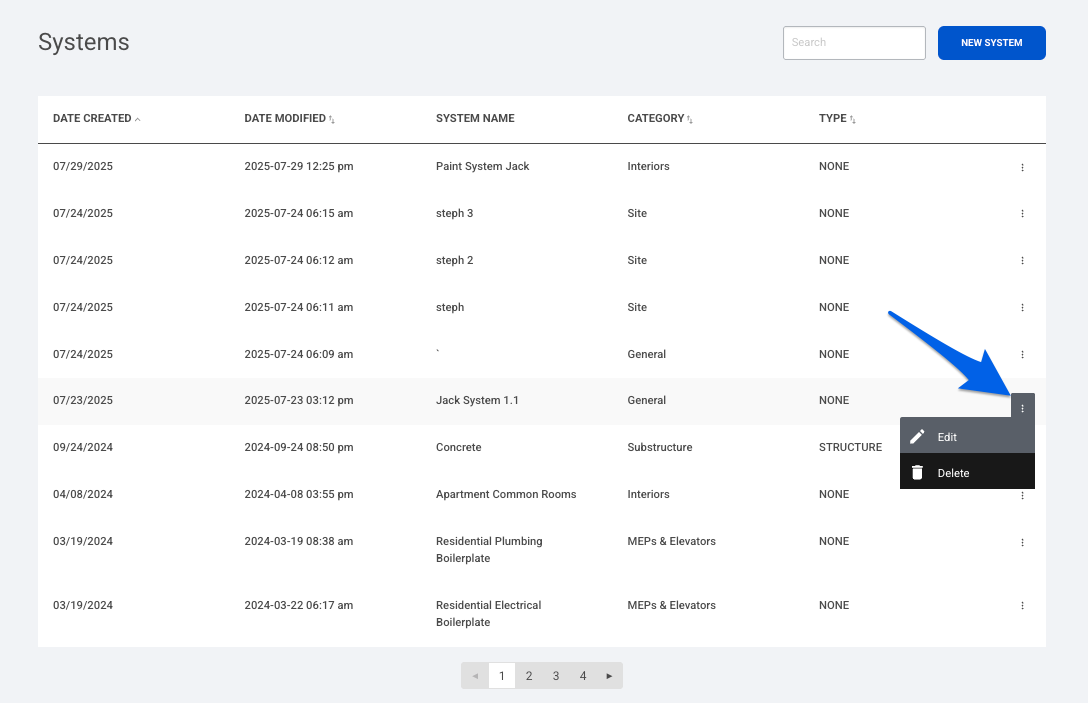
- Find the System you would like deleted in the list, and click on the 3 dots (ellipses).
-
Click Delete (see note below).


Note: Deleting a System is a global action and cannot be undone. This will remove the System from all projects and estimates.
If you have any questions, feel free to contact our support team, and we’ll be happy to help!